PPTP VPN account setup up on Windows XP
The easiest and quickest way to configure your VPN connection on a Windows XP client computer is by using the builtin software and you will need to follow these steps:
- On the computer that is running Windows XP you will need to confirm that the connection to the Internet is correctly configured if you haven't already done so.
- You can try to browse the internet and or
- Ping a known host on the Internet, like google.com, a server that is not blocking ICMP
- Click Start, and then click Control Panel.
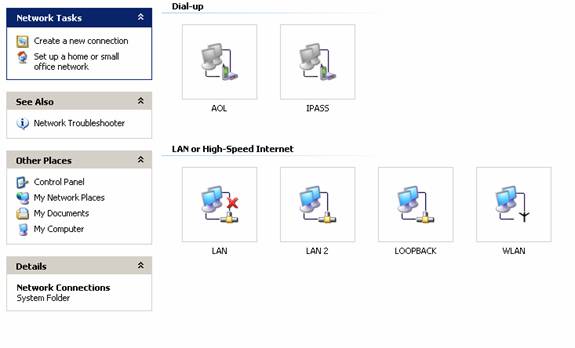
- In Control Panel, double click Network Connections
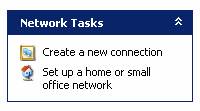
- Click Create a new connection in the Network Tasks task pad
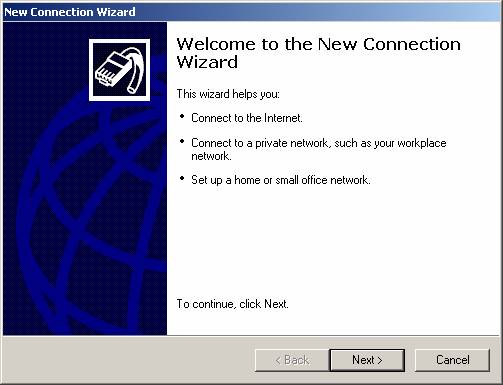
- In the Network Connection Wizard, click Next.
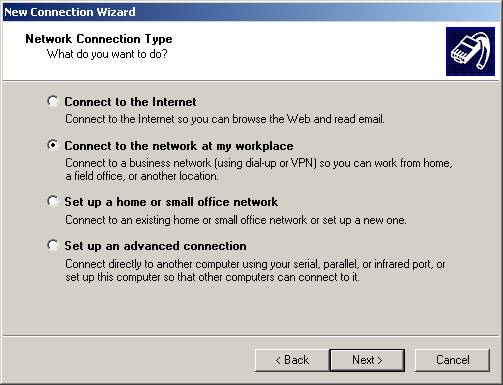
- Click Connect to the network at my workplace, and then click Next.
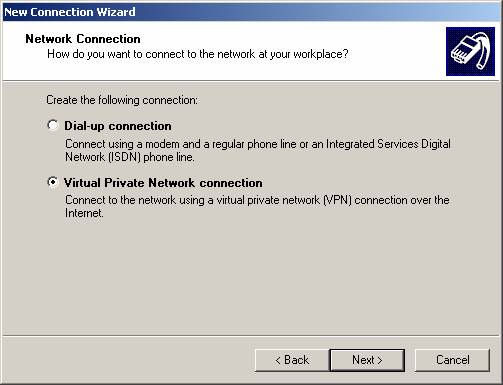
- Click Virtual Private Network connection, and then click Next.
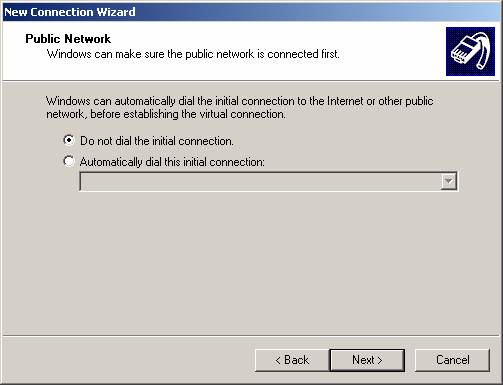
- If you are prompted, you need to select whether you will use a
dialup connection or if you have a dedicated connection to the Internet
either via Cable, DSL, T1, Satellite, etc. Click Next.
- Type BestProxyAndVPN or any other meaningful name that you want to appear in the Network Connections area. You can change this later if you want. Click Next.
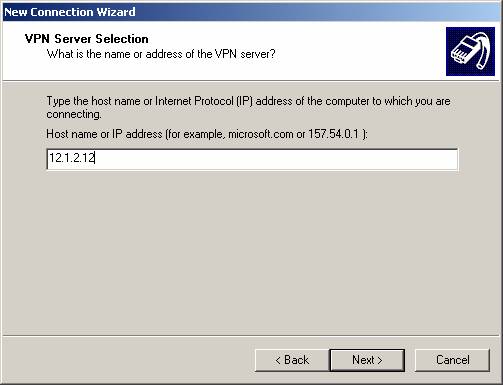
- Type the VPN Server name you have received for your VPN account as the address x.x.com of the computer you are connecting to (should look like VPN Server: x.x.com in your notification email), and then click Next.
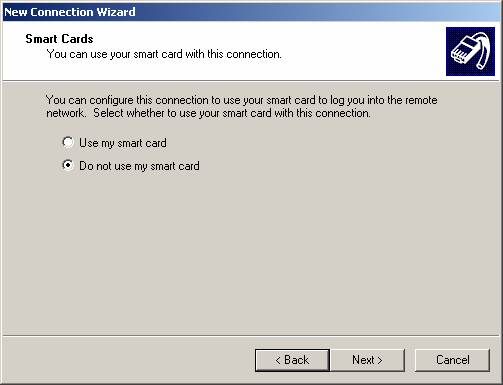
- You may be asked if you want to use a Smart Card or not.
- You are just about done, the rest of the screens just verify your connection, click Next.
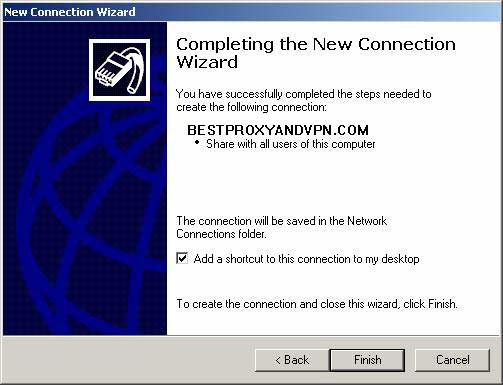
- Click to select the Add a shortcut to this connection to my desktop check box if you want one, if not, then leave it unchecked and click finish.
- You are now done making your connection. You can try the connection now.
Connecting to BestPROXYandVPN.com VPN
Now that you have your XP VPN client all set up and ready, the next step is to attempt a connection to the BestPROXYandVPN.com VPN server. To use the connection follow these simple steps. To open the client again, go back to the Network Connections dialog box.
- One you are in the Network Connection dialog box, double-click, or
right click and select ‘Connect’ from the menu – this will initiate the
connection to
BestPROXYandVPN.com VPN server.

- Type your user name and password, and then click Connect. Please note that each VPN account you have has a different VPN username for each of your accounts so make sure you use the correct username (which is different from the one you use for member area access).
- To disconnect from a VPN connection, right-click the icon for the connection, and then click “Disconnect”
pptp vpn, vpn setup, pptp vpn setup, vpn configuration, vpn howto, windows xp, win xp